This guide explains how to manually send documents through Click2Mail Connect using the Clio integration. This method is ideal for sending case-specific documents like invoices, contracts, or notices directly from Clio without predefining templates or triggers.
Overview
There are two ways to trigger the Click2Mail document mailing process from Clio:
-
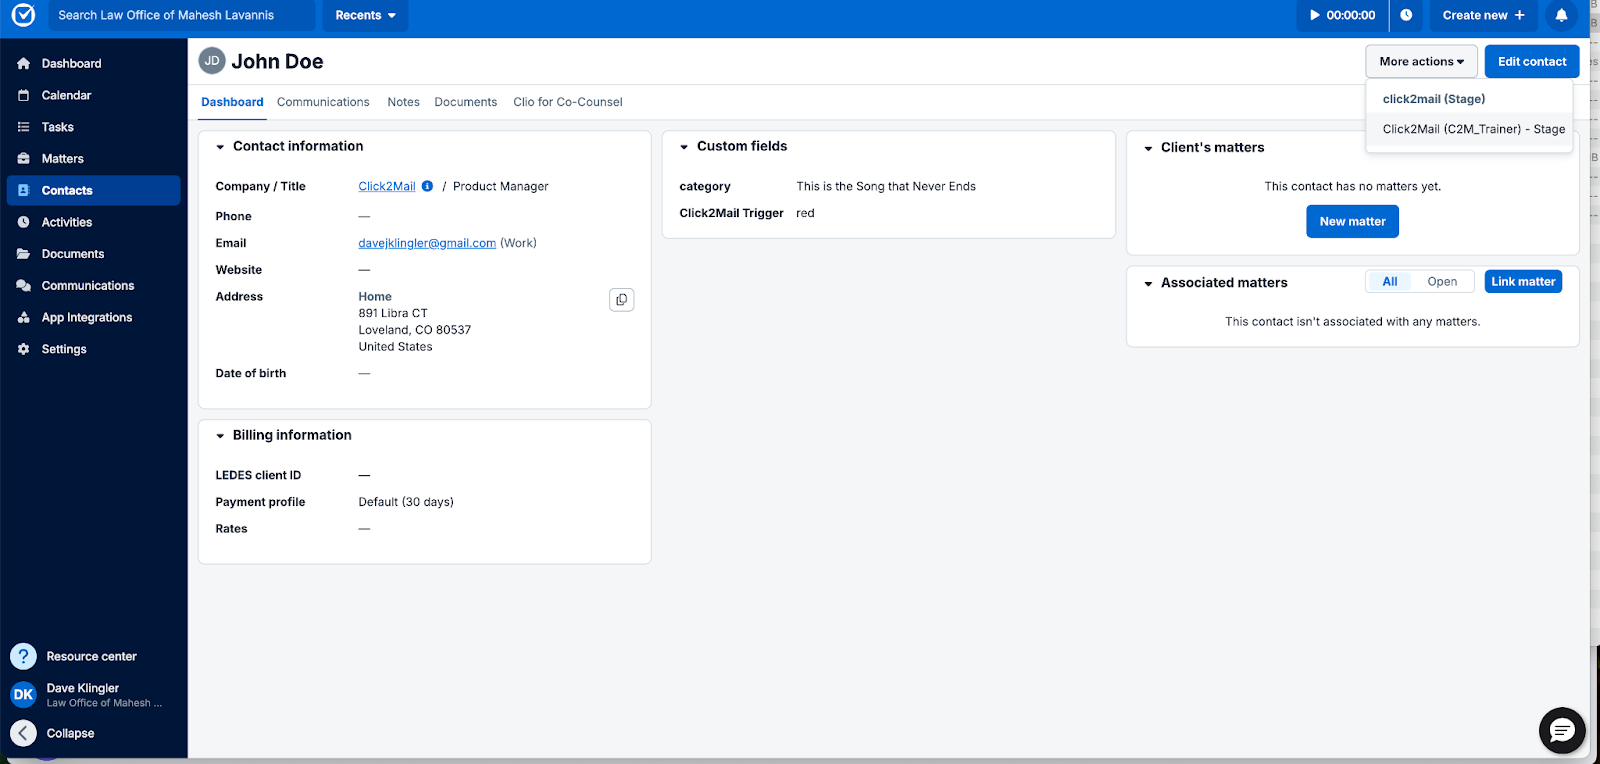
From a Contact Record: Open a specific contact in Clio, select the “More Actions” button, and select your Click2Mail Connect account.
-
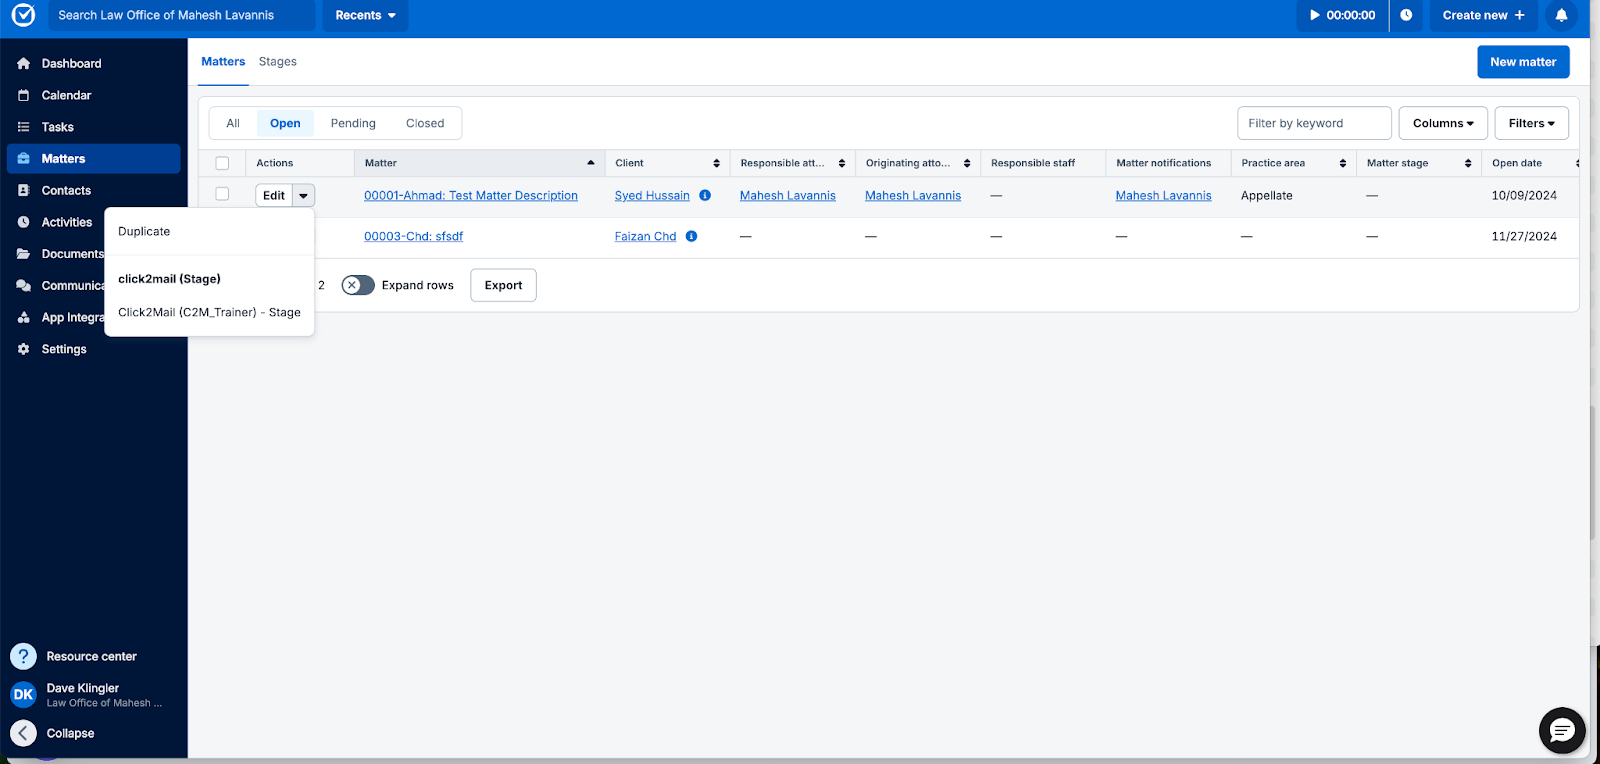
From a Matter: Open a specific matter in Clio, navigate to the Matters section, select the “Actions” dropdown, and choose your Click2Mail Connect account.
The Document Mailing method in Click2Mail Connect gives users full control over what gets mailed and when. Unlike Trigger Tags, which automate the process based on Clio contact tags, this method allows you to review and select individual documents from Clio, configure mailing options, and submit the job manually.
Step 1: Ensure Your Clio Account is Connected
-
Log in to Click2Mail Connect.
-
Go to Connected Accounts.
-
Click Add Account and select Clio.
-
Authorize Click2Mail to access your Clio account.
Step 2: Select and Upload Document
-
Select the specific Clio record you want to work with.
-
Upload a PDF or DOCX file you wish to send. This can be any file saved within the Clio record.
-
Review the document for accuracy.
Step 3: Select or Add Recipient Addresses
-
Review the default address pulled from the Clio contact.
-
You may choose from available addresses such as Work, Home, Billing, or Other.
-
If needed, click Add New Address to include recipients not listed in Clio (e.g., opposing counsel, contractors).
Step 4: Choose Mailing Options
-
Choose an existing mailing option template, or click Add New Template to configure new print and delivery settings.
-
Select the product format (e.g., letter, postcard).
-
Choose print settings (color vs. B&W, single- vs. double-sided).
-
Set mail class (e.g., First-Class, Certified Mail).
Step 5: Review and Submit for Mailing
-
Review all mailing details in the preview.
-
This step may take a few minutes to load, as Click2Mail Connect calculates the exact cost of mailing before allowing you to download the proof document.
-
Once the proof and pricing are available, confirm the details and click Submit to finalize the job.
-
You will receive a confirmation once the job is queued.
Step 6: Track Progress in Connect
-
Navigate to the Mail History tab in Click2Mail Connect.
-
Track the status of each document: In Progress, Submitted, Failed, or Complete.
Tips and Best Practices
-
Use descriptive document names in Clio so documents are easy to identify.
-
Use descriptive template names like Certified Overnight Legal Letter or Standard Priority Mail to help you quickly identify the mailing class and delivery options configured in the template.
-
Double-check recipient addresses before submission.
-
Use Certified Mail for time-sensitive or legally critical documents.
-
This method is best used when mailings are ad hoc and not suited for automation.
Manual document mailing gives you total flexibility without requiring preset templates or trigger tags. It's ideal for one-off legal communications directly tied to specific cases or clients.
Carly Brown
Comments